
What Is KRMC-Hosted?
Kanguru's Robust Remote Management Platform
The Kanguru Remote Management Console (KRMC) is the world's most powerful, fully-integrated remote management platform for managing and monitoring the security attributes of Kanguru Defender encrypted drives. In August 2024 Kanguru rebranded KRMC to KRMC-Hosted, with an enhanced, contemporary interface, new pricing structure and convenient added features.
KRMC-Hosted can be used by Managers, Security Officers, and IT Administrators of an organization to manage, monitor, and enforce the security policies of a fleet of Defender encrypted devices in the workforce, anywhere in the world.
Data on Defender Encrypted devices cannot be accessed through KRMC, as it is secured within the confines of the drive itself, but the remote management platform allows managers to supervise the security of Defender devices belonging to the organization.
KRMC-Hosted is a separate account from Defender encrypted devices, hosted by Kanguru on the kanguru.com website.
Distinction Between An Individual End-User and An Administrator
The first distinction that should be made with the KRMC-Hosted platform is understanding the difference between an individual end-user, and an Administrator. These roles depend on the intent of the device management structure.
An Individual End-User
When an individual purchases a Kanguru Defender secure drive for personal use, they assume both the roles of End-User and Administrator. The data on the Defender device remains secure and accessible only to the owner. As the drive's Administrator, the owner can also have full control and management capabilities through a separate KRMC-Hosted account. Should the owner choose to take advantage of the remote management account options available, they will have administrative management of the drive.
With the purchase of a Defender drive, Kanguru provides a 30-day free trial of the KRMC-Hosted Advanced account, (along with a trial license of our award-winning Endpoint Protection anti-virus/ anti-malware, free for 30-days). KRMC operates separately from the drive itself, utilizing the Kanguru Remote Management Console. This console allows the owner to manage their drive; offering a higher level of data security and administrative control. The Kanguru-Hosted account is accessed via the kanguru.com website.
In the event that the Defender encrypted drive is ever lost or stolen, a KRMC-Hosted remote management account allows the Administrator to remotely enable or disable the drive. This additional layer of data protection ensures the security of the user's information on a variety of levels.
There are several types of KRMC accounts which can be scaled up, depending on specific security requirements, number of drives, and budget. Each type of account offers greater flexibility and more granular features. For example, a small to medium-sized business may scale up to the STANDARD package, a cost-effective security solution with the most common management capabilities necessary for non-regulated industries. KRMC Accounts may be purchased on kanguru.com.
Visit the KRMC-Hosted Remote Management Suite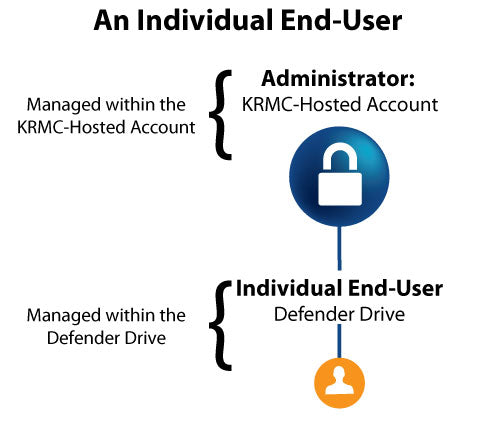
A Defender Device Managed By An Organization
Larger organizations may have an IT Administrator, Manager, or Security Officer who is the Administrator of a KRMC Account for several drives. If a Defender encrypted device is distributed to an individual by the organization, the drive is likely to be a managed device, managed and provisioned by the Administrator. In this scenario, the end-user will not have access to the KRMC account. The Defender drive may have specific security policies provisioned by the administrator for the drive, including password requirements, permission restrictions, and location policies.
Depending on the type of KRMC account the drive is being managed by, there could be several administrators managing the Defender device.
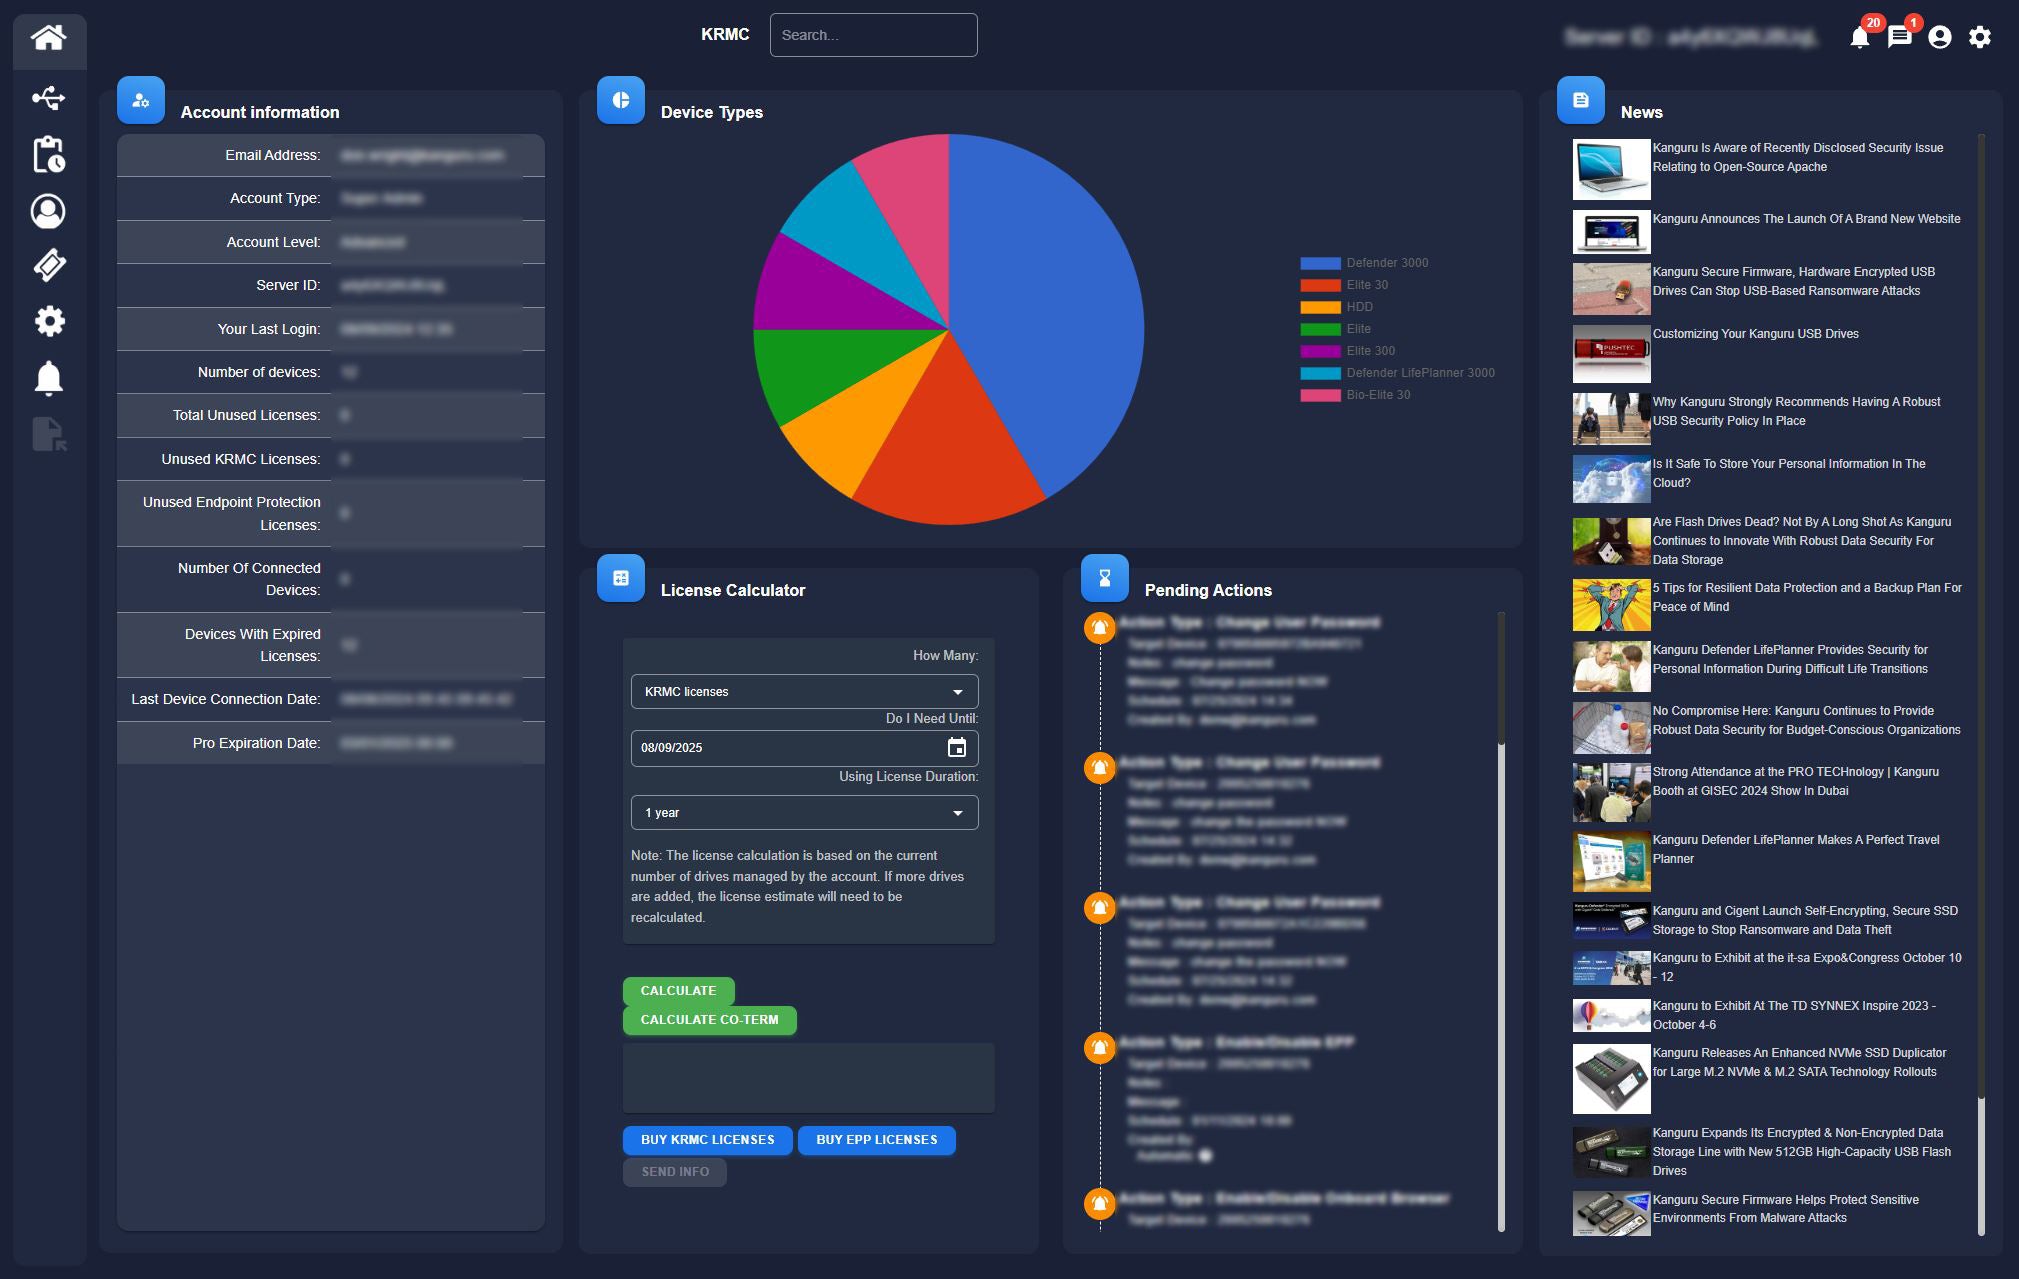
About The Console
The Kanguru Remote Management Console is a dynamic way to manage all Defender devices in the workforce. There are a number of different windows providing in-depth information for all licensed drives. With the Devices window, you can see activity, "Last connected" details, including information for active drives, parked drives, and more. The Actions window provides a full log of targeted actions and devices, with Actions Pending, Failed, and Successful. You can also create Global actions to your entire fleet or a specific set of drives. The Admin Management window provides full management of your sub-administrators, auditors, and groups. Additionally you can see a summary of your Licenses, view Settings, and Reports.
About The Four KRMC-Hosted Accounts
The KRMC-Hosted BASIC account is a starter account for users to be able to manage their Defender device(s). However, the potential and flexibility of KRMC is very wide-ranging. There are three other tiers for managing drives, based upon the security requirements of an Administration and the organization.
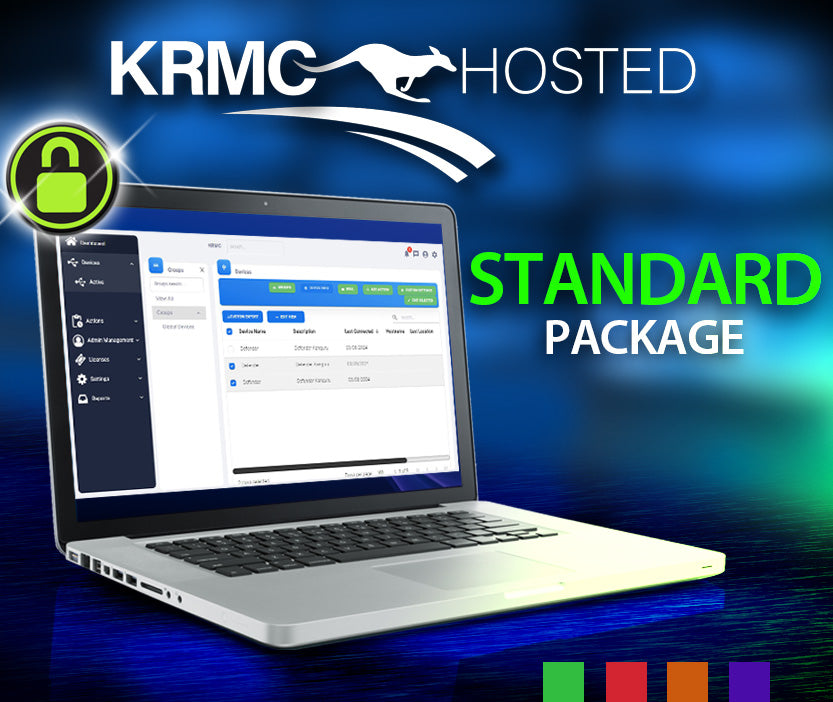
STANDARD KRMC-Hosted Account
A cost-effective remote management solution for SMBs, and organizations that might not require the stringent controls of a heavily-regulated security environment.
Learn More About the STANDARD Package
ADVANCED KRMC-Hosted Account
This feature-rich remote management package includes many enhanced security features and network integrations, providing large organizations and enterprise companies with robust data security and protection. This package also comes with a free 30-day trial.
Learn More About the ADVANCED Package
PREMIUM KRMC-Hosted Account
The PREMIUM Account package provides a comprehensive, full-service solution for heavily-regulated, top-level security environments.
Learn More About the PREMIUM PackageSee the Kanguru Remote Management Suite
With four new convenient KRMC-Hosted accounts to choose from, administrators can select the right remote management security package for their organization based upon their specific needs and budget.
Visit the KRMC-Hosted Remote Management Suite